Node Running Guide
In this guide, we’ll be using DigitalOcean (DO) as our go-to Virtual Private Server (VPS) service. The same can be replicated on Vultr, AWS, any other cloud service or for node runners at home. While it is indeed possible to run a node on home infrastructure, this guide will not deal with those types of setups.
We work under the assumption that you’ve already created an account for your respective service, and provided it with a payment method.
Create a droplet
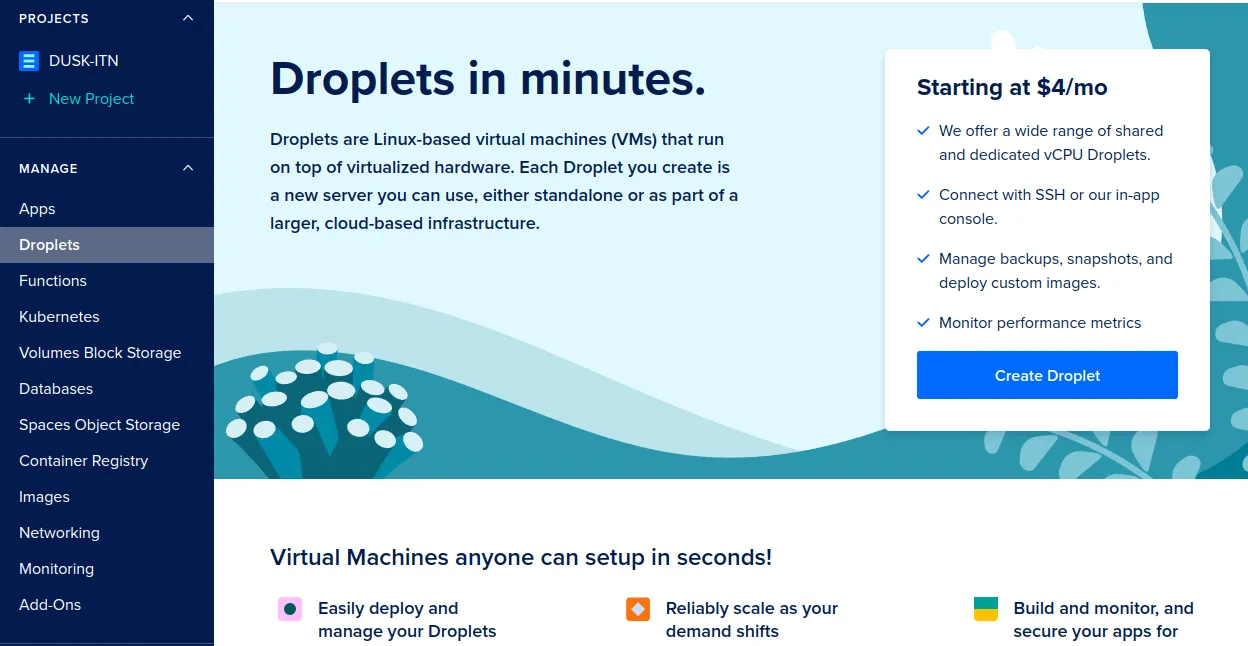
DO uses droplets, which are Linux-based virtual machines. When you’re logged in and have set up a default project, navigate to Droplets under the Manage section of your project, and click on Create Droplet.
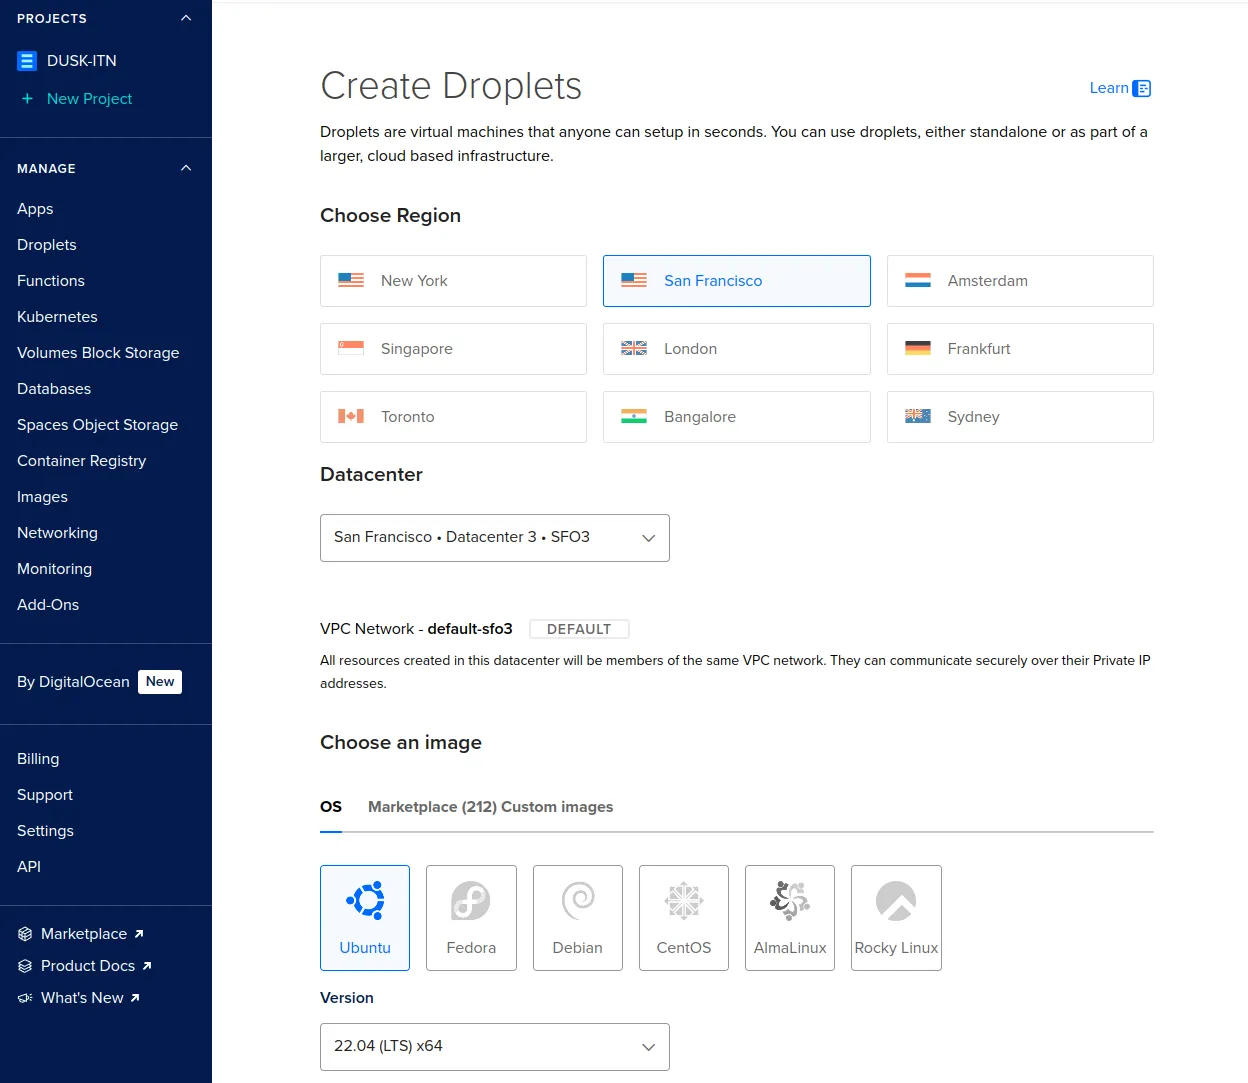
On the Create Droplets page, select any of the provided regions under the Choose Region header. Choosing different regions is good for decentralization and resilience.
Under Choose an image, pick Ubuntu version 22.04 (LTS) x64.
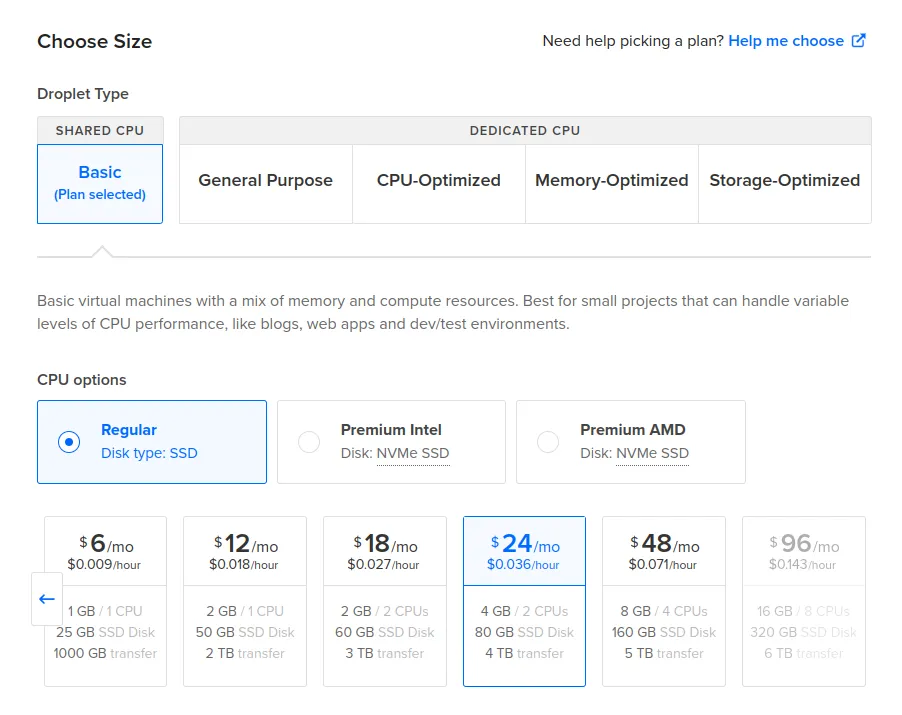
Next, we have to pick the size of the droplet. The node requirements for a provisioner node are in line with the SHARED CPU -> Regular -> $24/mo option. Select it.
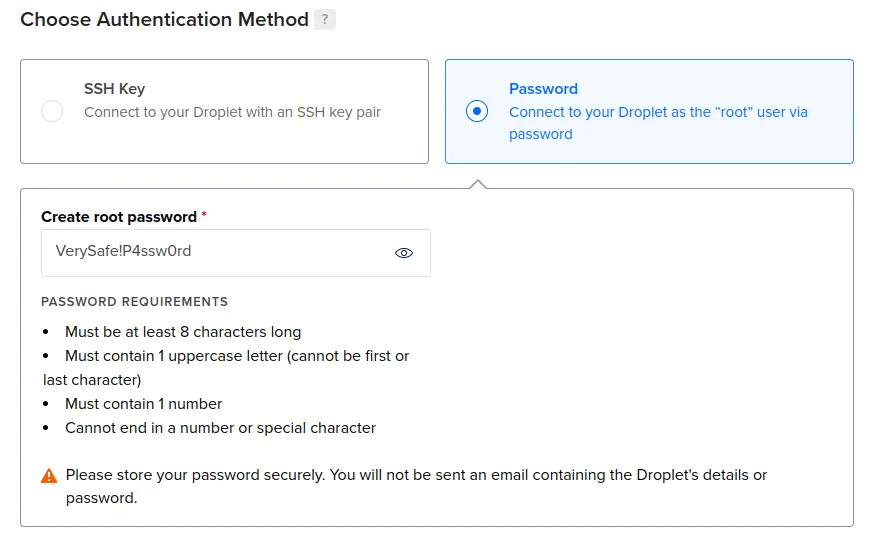
Choose an authentication method to access your droplet. Using a SSH key is more secure, but you can also use a password if you prefer. We recommend the SSH key approach. You can follow DOs instructions here: How to Add SSH Keys to New or Existing Droplets
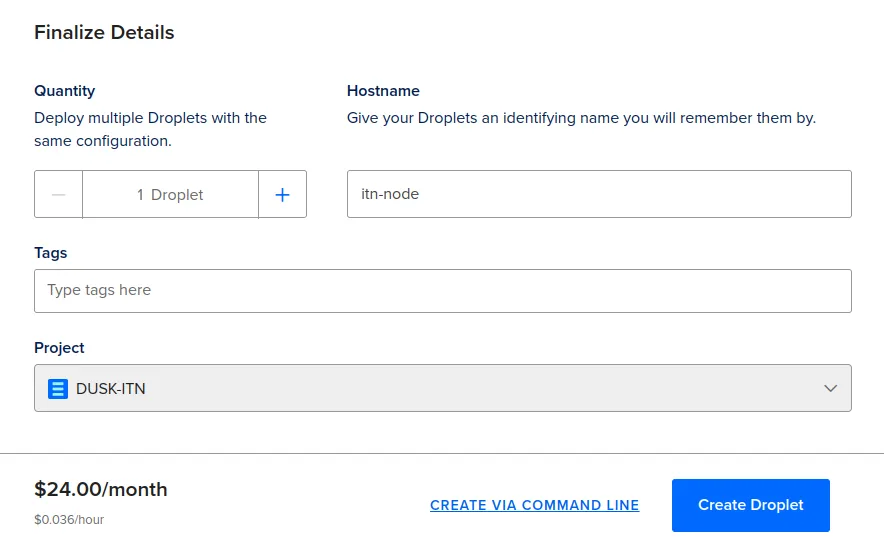
That’s it for creating your droplet! Give it a hostname, and click on Create Droplet:
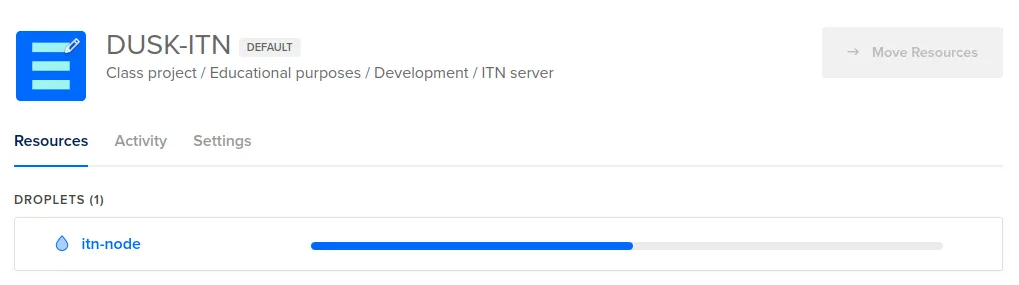
DO will now set the droplet up for you. This can take a minute:
Configure Firewall
The Rusk node makes use of the Kadcast protocol to communicate messages between nodes on the network. This protocol uses UDP, and runs on a custom port. Due to the nature of how UDP works, Kadcast is not automatically port forwarded. Regardless of where the node is hosted, it is important that this is done.
Depending on the cloud provider, we need to either add a firewall rule on the instance you’re running, or add a firewall group. If you’re running a local setup, you will need to enable port forward in your router.
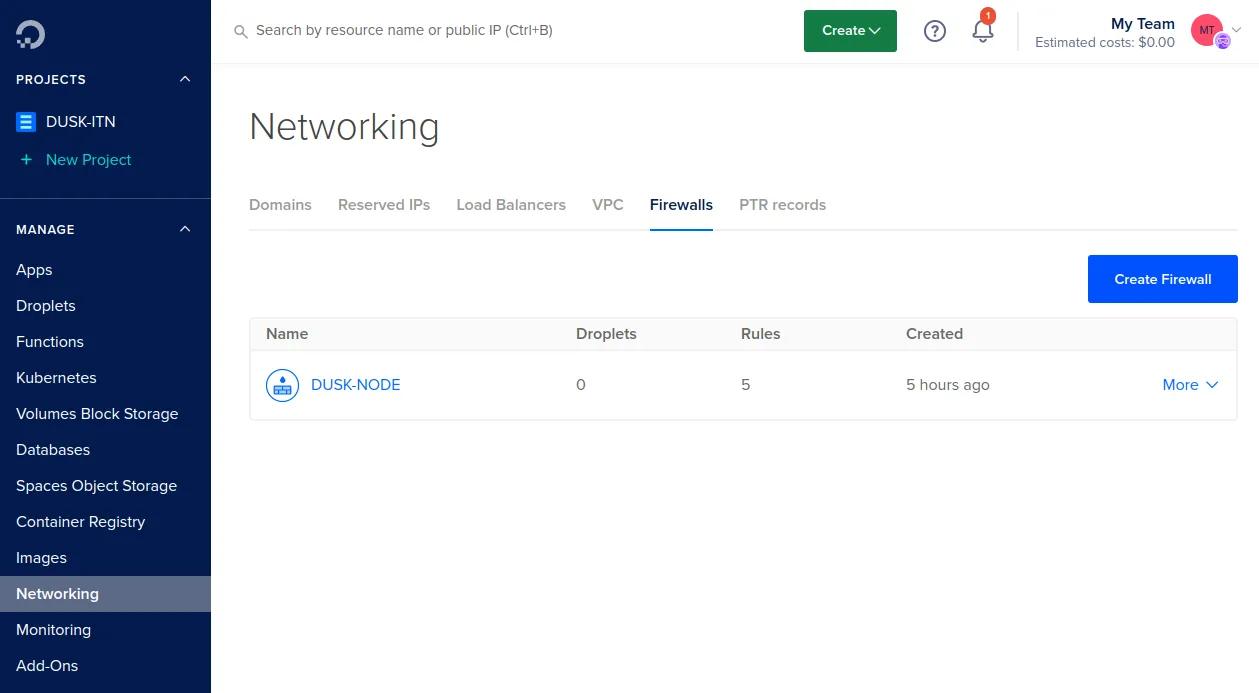
DO works with firewall groups. Navigate to Networking -> Firewalls under the Manage section of your project. Click on the Create Firewall button.
Give the firewall a name, open UDP under port 9000 and TCP under 8080. Leave all the Outbound rules as they are.
Apply the rules to the nocturne-node droplet you made.
Your firewall should look as follows:
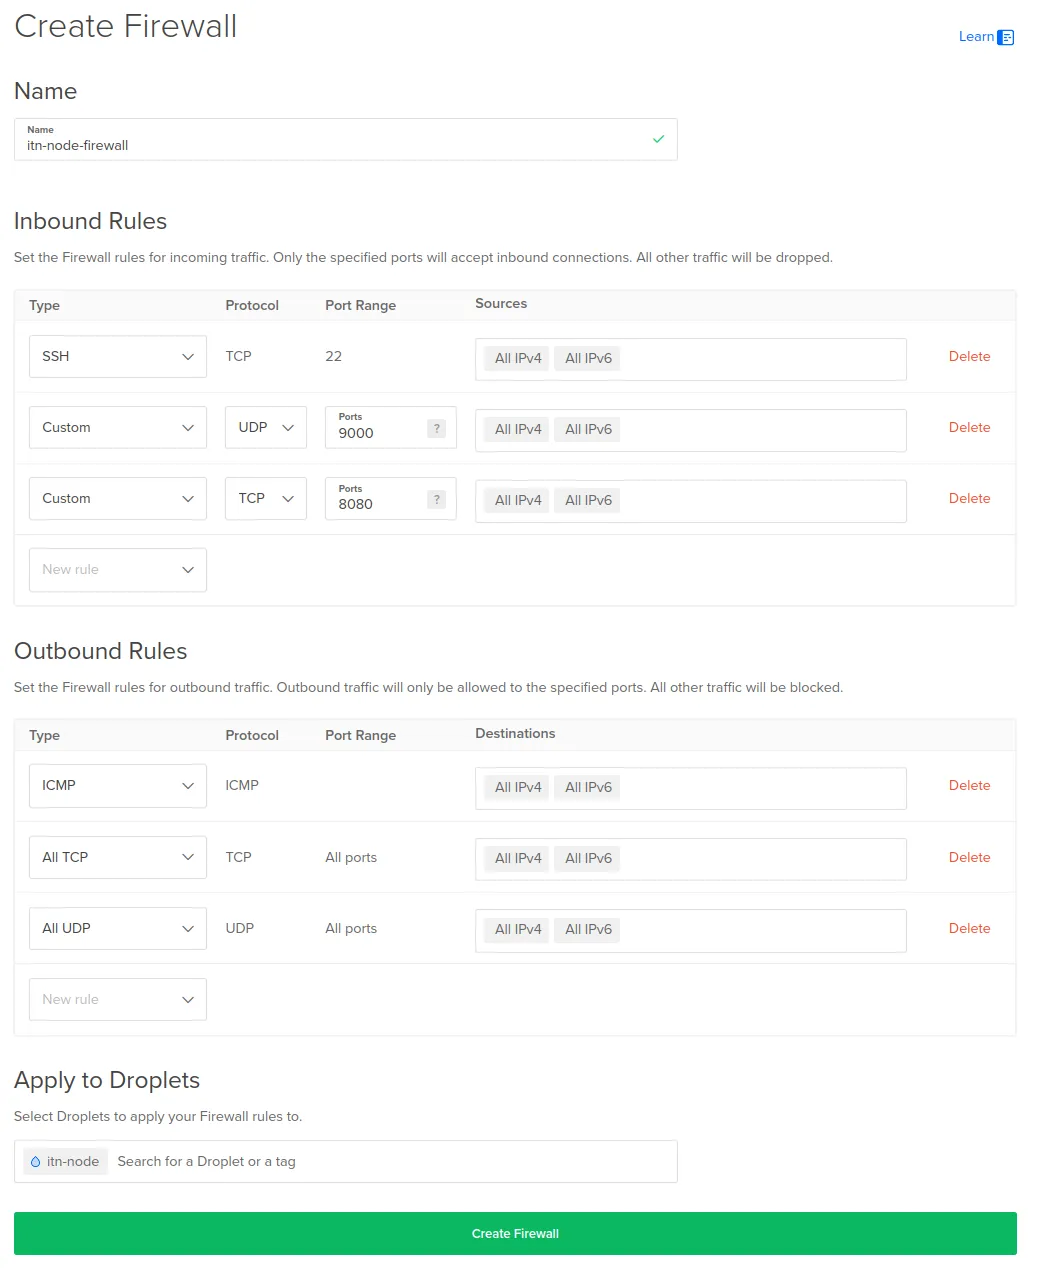
Click on Create Firewall to apply this firewall to your node’s droplet.
Install Rusk
Navigate back to your droplets overview and select your Nocturne droplet:

You can connect to your node through SSH on your local machine, or simply click on Console on your droplets page:

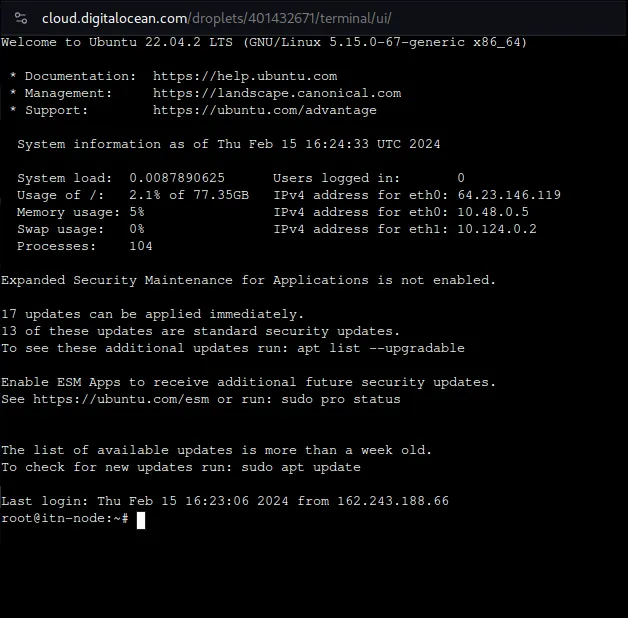
A terminal should pop-up and connect you to your Droplet
Just like last time, we’ve created an easy to use node installer. This installer will set up Rusk as a service on your droplet, preconfigure parts of the node, and provide a couple of helper scripts.
Install Rusk by pasting the following command in your droplet terminal:
curl --proto '=https' --tlsv1.2 -sSfL https://github.com/dusk-network/node-installer/releases/download/v0.2.0/node-installer.sh | sudo shConfigure Rusk
Once everything has been set up, you will be asked to add your consensus keys. These keys are used to sign and vote for blocks.
If you haven’t made a wallet yet, go to our Web Wallet and create a new wallet. You can request funds from our Discord faucet. The faucet will give you 400 nDUSK. The minimum to stake is 1000 nDUSK.
Once you have access to a Dusk mnemonic, run the following command:
rusk-wallet restoreIf your node is not running, it will tell you some operations won't be available. This is fine, and happens due to your node not being online yet. You can still continue to follow the steps below.
You will be asked to provide your recovery phrase/mnemonic, in lowercase, and to enter a password for the wallet.
Once you’ve done so, run the following command to export a consensus key for the given wallet:
rusk-wallet export -d /opt/dusk/conf -n consensus.keysYou will be asked to set an encryption password for the consensus key. Remember it and run the following script to set it as an environment variable:
sh /opt/dusk/bin/setup_consensus_pwd.shIf you’ve configured everything correctly, you can now start rusk:
service rusk startYour node will now start syncing. You can check if it indeed is by running:
ruskquery block-heightIt is best to wait until your node is synced up. You can find the latest block height on our explorer.
Stake nDUSK
The final step is to stake. You can stake by running:
rusk-wallet stake --amt 1000 # Or however much you want to stakeOnce the transaction has gone through, you can view your staking information by running:
rusk-wallet stake-infoTo see if your node is participating in consensus and creating blocks, occasionally check:
grep "execute_state_transition" /var/log/rusk.log | tail -n 5Note that this can take a while, given that your stake needs at least 2 epochs, or 4320 blocks, to mature. Your stake, relative to the total stake, also plays a factor.
If everything went right, and your node starts accepting and creating blocks, you have successfully set up your Nocturne node!