

Run a provisioner node
Provisioners are full nodes that participate in consensus. To participate, you stake a minimum of 1000 DUSK and run a provisioner node 24/7.
If you only want to stake or understand staking before operating infrastructure, start with: Staking on Dusk.
Provisioner Specifications
Section titled “Provisioner Specifications”The following specifications support Provisioner nodes with limited proving capacity. It is always recommended to have at least 2 cores available.
| CPU | RAM | Storage | Network Connection |
|---|---|---|---|
| 2 cores; 2 GHz | 4 GB | 50 GB | 10 Mbps |
Run a Provisioner on Dusk
Section titled “Run a Provisioner on Dusk”This is the shortest reliable path:
- Create a server (Ubuntu 24.04).
- Open ports:
22/tcp(SSH),9000/udp(Kadcast). Optional:8080/tcp(HTTP server, mainly for archive/indexer use-cases). - Install the node with the official installer.
- Set up the node wallet and stake.
- Keep it upgraded and monitored.
Create a droplet
Section titled “Create a droplet”You can run a provisioner on any VPS/provider as long as it matches the specs above and runs Ubuntu 24.04.
If you’re using DigitalOcean, see the optional walkthrough below.
DigitalOcean walkthrough (optional)
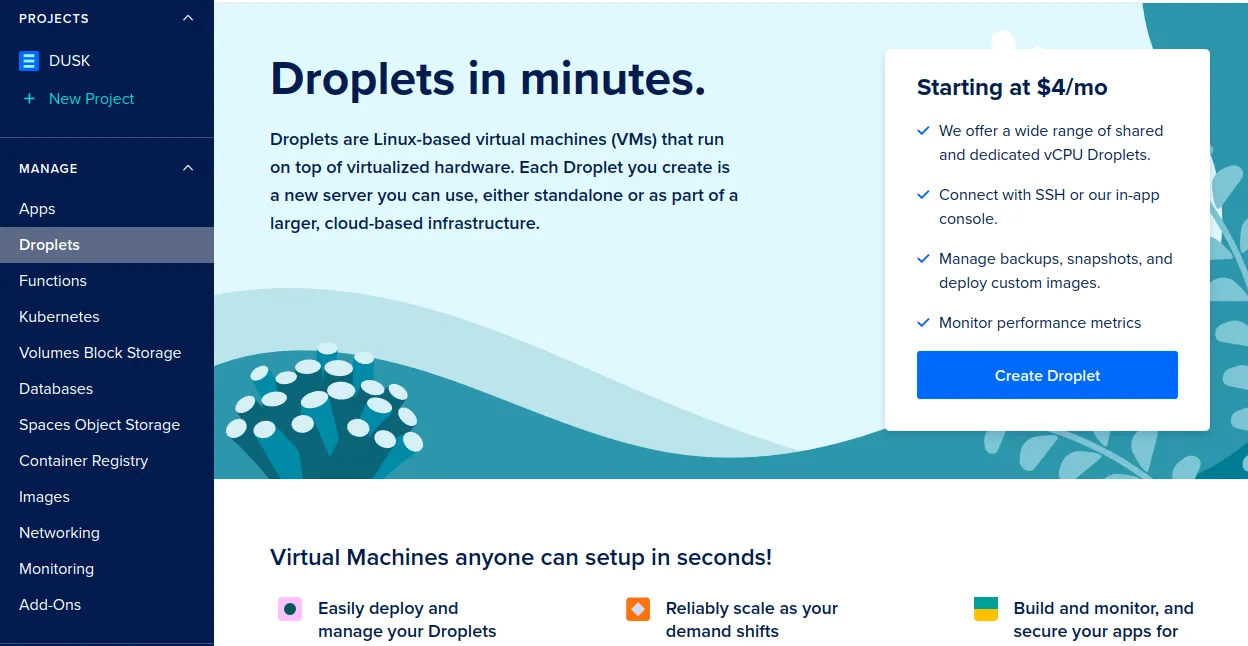
DO uses droplets (Linux VMs). When you’re logged in, go to Droplets and click Create Droplet.
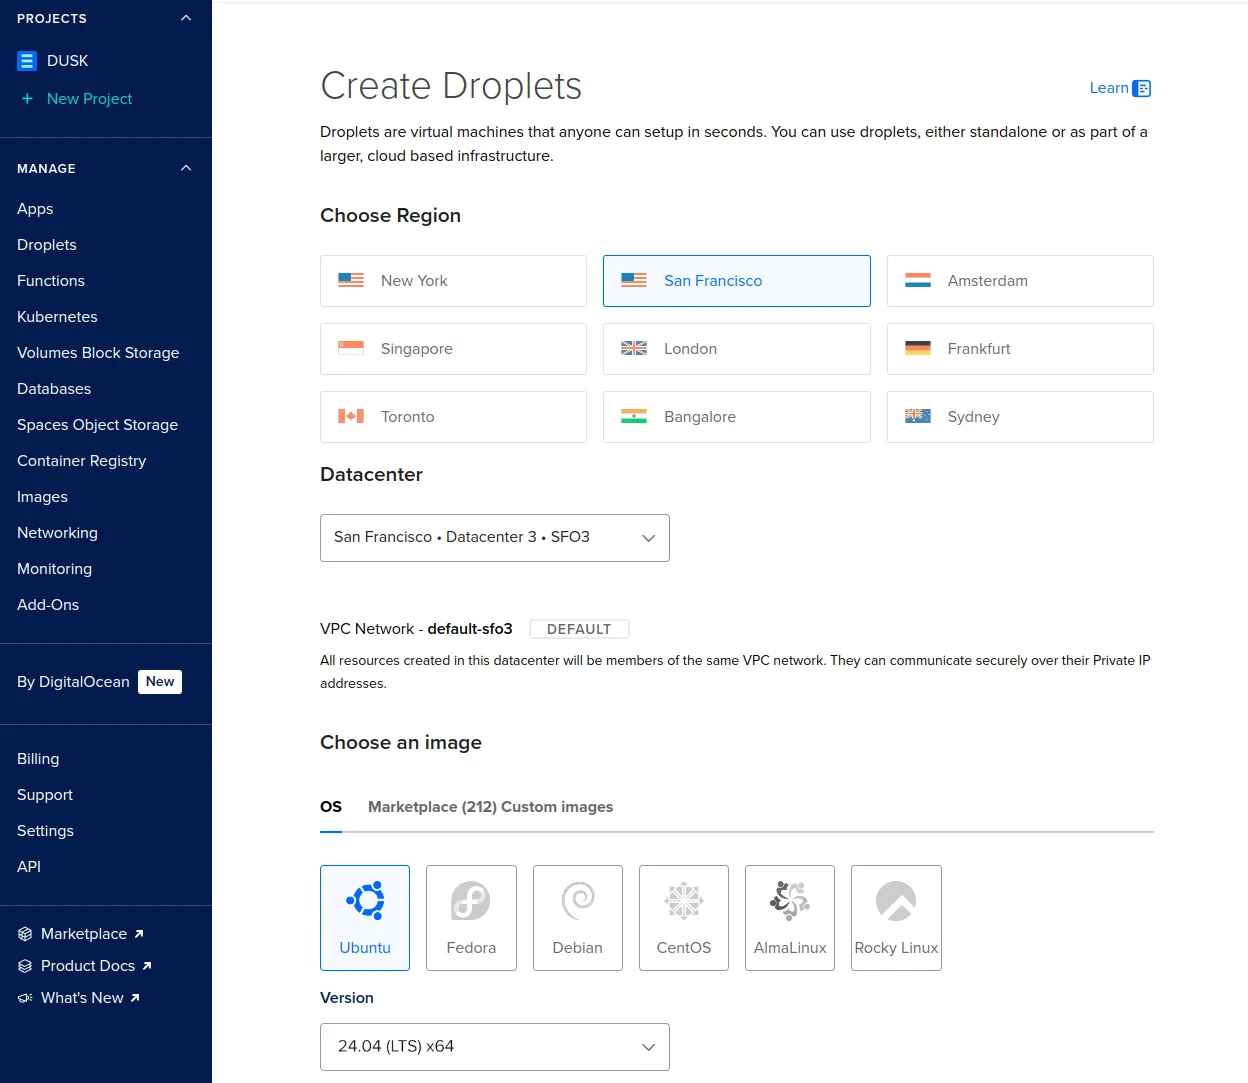
- Choose a region.
- Choose image: Ubuntu 24.04 (LTS) x64.
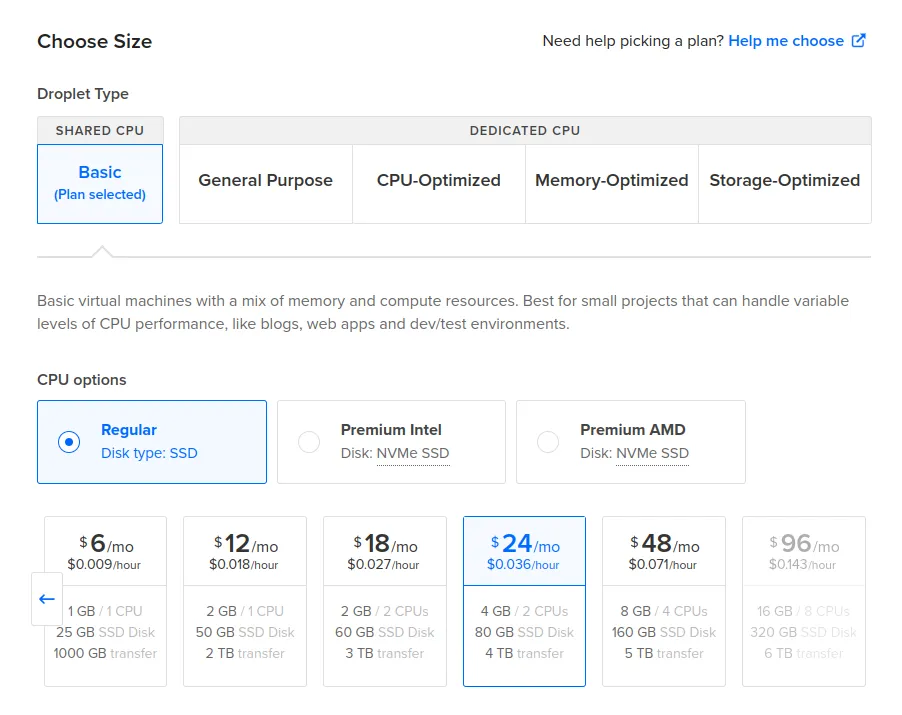
- Choose size: at least the Provisioner Specifications.
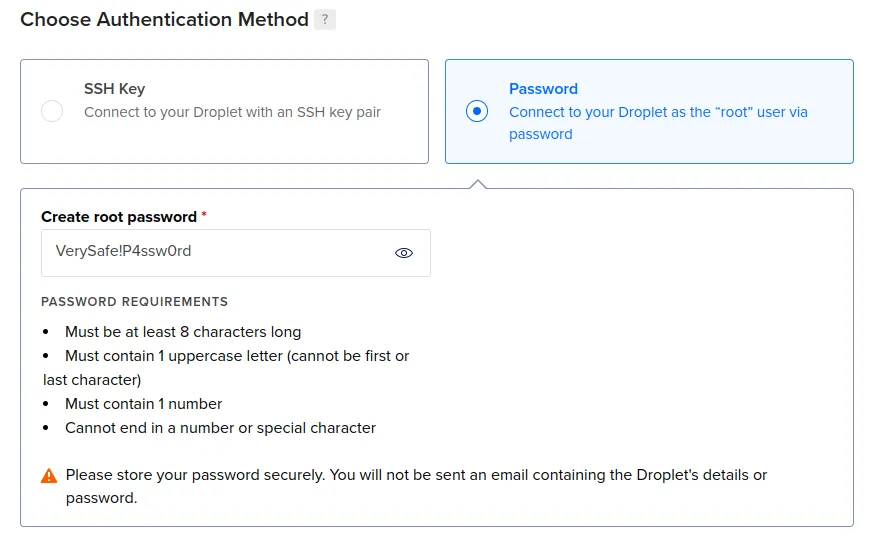
- Prefer SSH keys over passwords.
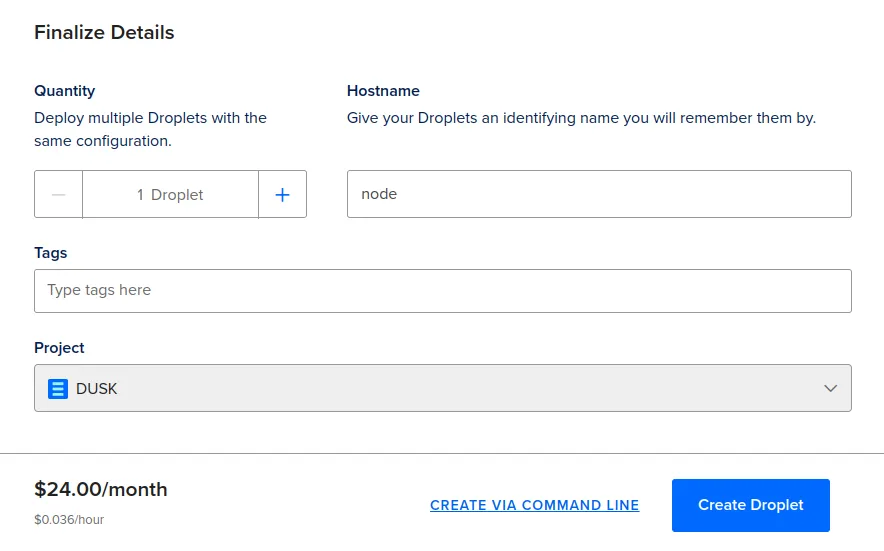
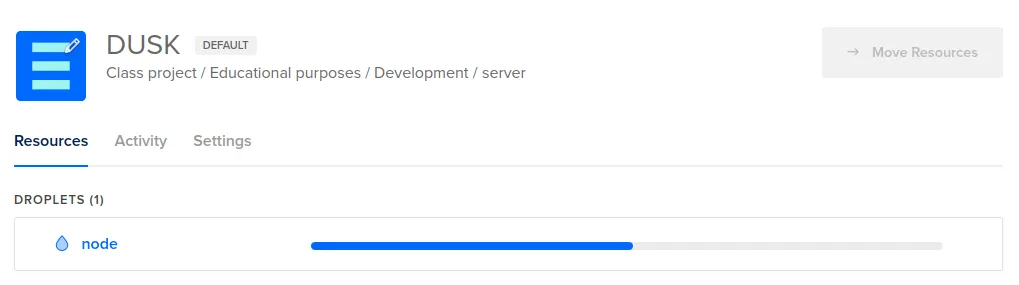
Configure Firewall
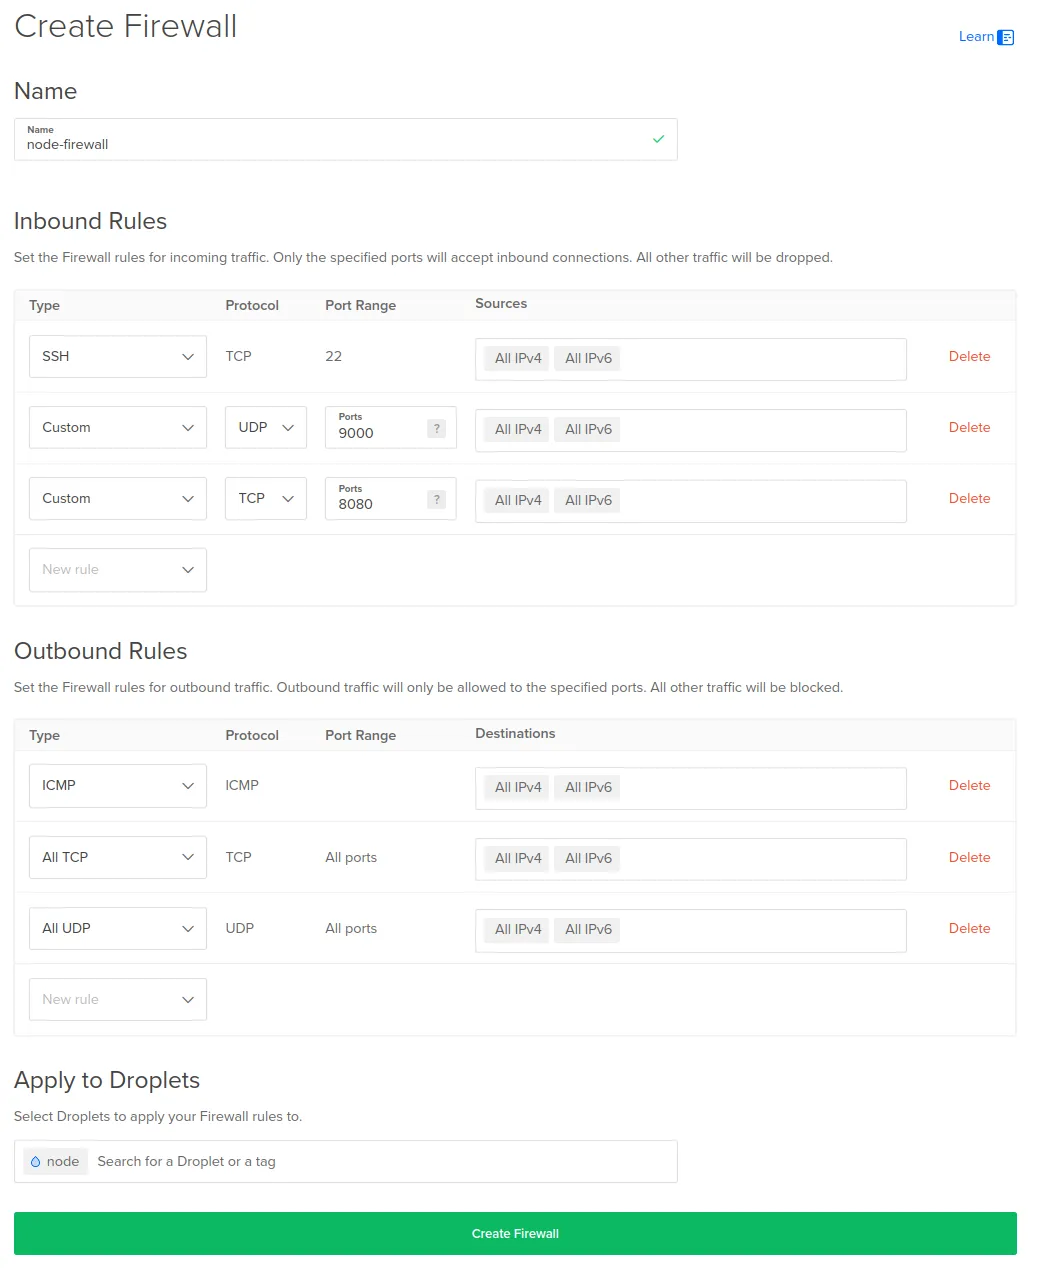
Section titled “Configure Firewall”Enable the required ports:
22/tcp(SSH)9000/udp(Kadcast; consensus networking)- Optional:
8080/tcp(HTTP server; mainly for archive/indexer use-cases)
If you manage a local firewall, here’s a minimal ufw example:
sudo ufw limit sshsudo ufw allow 9000/udpsudo ufw enableDigitalOcean firewall group (optional)
Create a firewall and open UDP 9000 (and optionally TCP 8080).
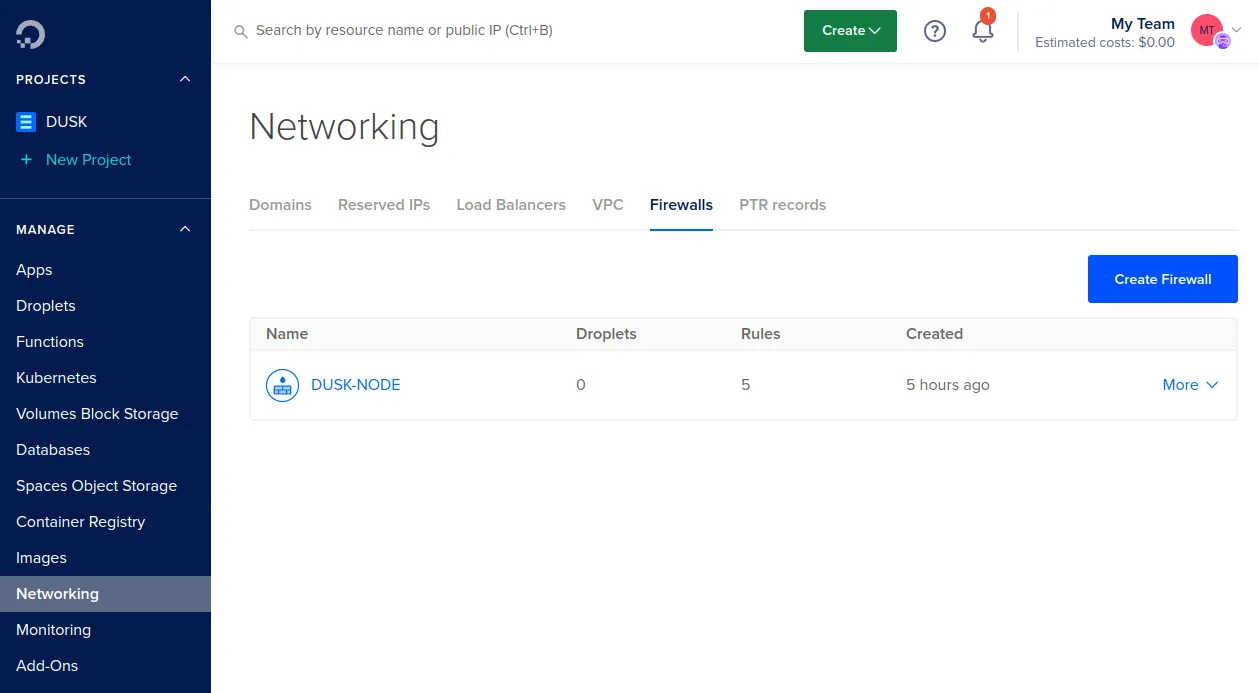
Install Rusk
Section titled “Install Rusk”SSH into your server (or use your provider’s web console).
(Optional) Security baseline (recommended)
Section titled “(Optional) Security baseline (recommended)”Run the node under a dedicated non-root user and use SSH keys (not passwords).
Create a dedicated user (optional)
sudo groupadd --system dusksudo useradd -m -G dusk -s /bin/bash duskadminsudo passwd duskadminmkdir -p /home/duskadmin/.sshsudo nano /home/duskadmin/.ssh/authorized_keyssudo chmod 700 /home/duskadmin/.sshsudo chmod 600 /home/duskadmin/.ssh/authorized_keyssudo chown -R duskadmin:dusk /home/duskadmin/.sshsudo usermod -aG sudo duskadminInstall with the node installer
Section titled “Install with the node installer”We’ve created an easy to use node installer. This installer will set up Rusk as a service on your droplet, preconfigure parts of the node, and provide a couple of helper scripts.
Install Rusk by pasting the following command on your server:
curl --proto '=https' --tlsv1.2 -sSfL https://github.com/dusk-network/node-installer/releases/latest/download/node-installer.sh | sudo bashcurl --proto '=https' --tlsv1.2 -sSfL https://github.com/dusk-network/node-installer/releases/latest/download/node-installer.sh | sudo bash -s -- --network testnetcurl --proto '=https' --tlsv1.2 -sSfL https://github.com/dusk-network/node-installer/releases/latest/download/node-installer.sh | sudo bash -s -- --network devnetVerify Installation
Section titled “Verify Installation”Once installed, verify the installer version with:
ruskquery versionYou should see the latest version number confirming a successful installation.
Configure Rusk
Section titled “Configure Rusk”Now set up the node wallet and stake so you can participate in consensus.
Follow: Node wallet setup.
For staking rules and reward timing, see Staking on Dusk. For next steps after setup, see Maintenance & monitoring and Upgrade your node.